Showing posts with label Random. Show all posts

Friday, February 10, 2012

Make your own Cinnamon Chips

My friend and I went shopping with our kids the other day. It was a fun trip and we decided to treat ourselves to some Great Harvest Bread. I eat there, like never! It is way to expensive when I feel like I can make some pretty good stuff on my own. Granted I will say that it always tastes better when someone else makes it, but I can make some pretty good pumpkin chocolate chip bread, which by the way is my favorite Great Harvest bread. My friend introduced me to their Cinnamon chip Bread and she sent me home with a loaf too. It is melt in your mouth delicious! I saved some for my husband, it was really hard, believe me. My girl and I could have ate that whole loaf. My husband also loved it and of course, he wants me to make some like it. I know that we will probably never get as good as Great Harvests, but if we can come close we will be happy. We are a bread loving family! Anyways I will get to my point. I discovered these on this blog, rather then buying the chips, and I think they worked out great. I did have to bake them on a slightly higher temperature and then I just cut them up instead of breaking them apart. When I went to put them into my bread, I did most of my kneading, (I have to knead by hand otherwise you can put them in before you start kneading), and then when the texture of the bread was almost how I wanted it, then I added the chips. If I were to add them before, the heat from my hands would end up melting the chips into the bread.


2/3 cup granulated sugar
3 tablespoons ground cinnamon
2 tablespoons vegetable shortening
2 tablespoons light corn syrup
 ¼ teaspoon vanilla extract


Preheat oven to 200F. Place a sheet of parchment paper on a cookie sheet and spray liberally with cooking spray. Set aside. In a medium size bowl, combine the granulated sugar, ground cinnamon, shortening, light corn syrup and vanilla extract. Mix with fork until the mixture is uniform and crumbly.


Spread on parchment lined baking sheet, flattening with your hands and shaping into a rough square about 1/4 inch or so thick. 


Bake until mixture is melted and somewhat bubbly, about 35 minutes. Cool completely, and then cut into small pieces.


Mine never became bubbly but they still worked out great. This is the perfect amount to put into two loafs of bread! Enjoy I know I did.

Below are pictures of my bread. It was pretty good but I still have some more work to do. I started with the foundation of a sweet bread, but then I couldn't put that much sugar in it, after I made the bread, it needs more sugar and I didn't cook it quite long enough. I wasn't sure how long to cook a round loaf like that. I will post the recipe when I decide it is good enough!


Tuesday, February 7, 2012

Love Bugs

Love Bug Day!

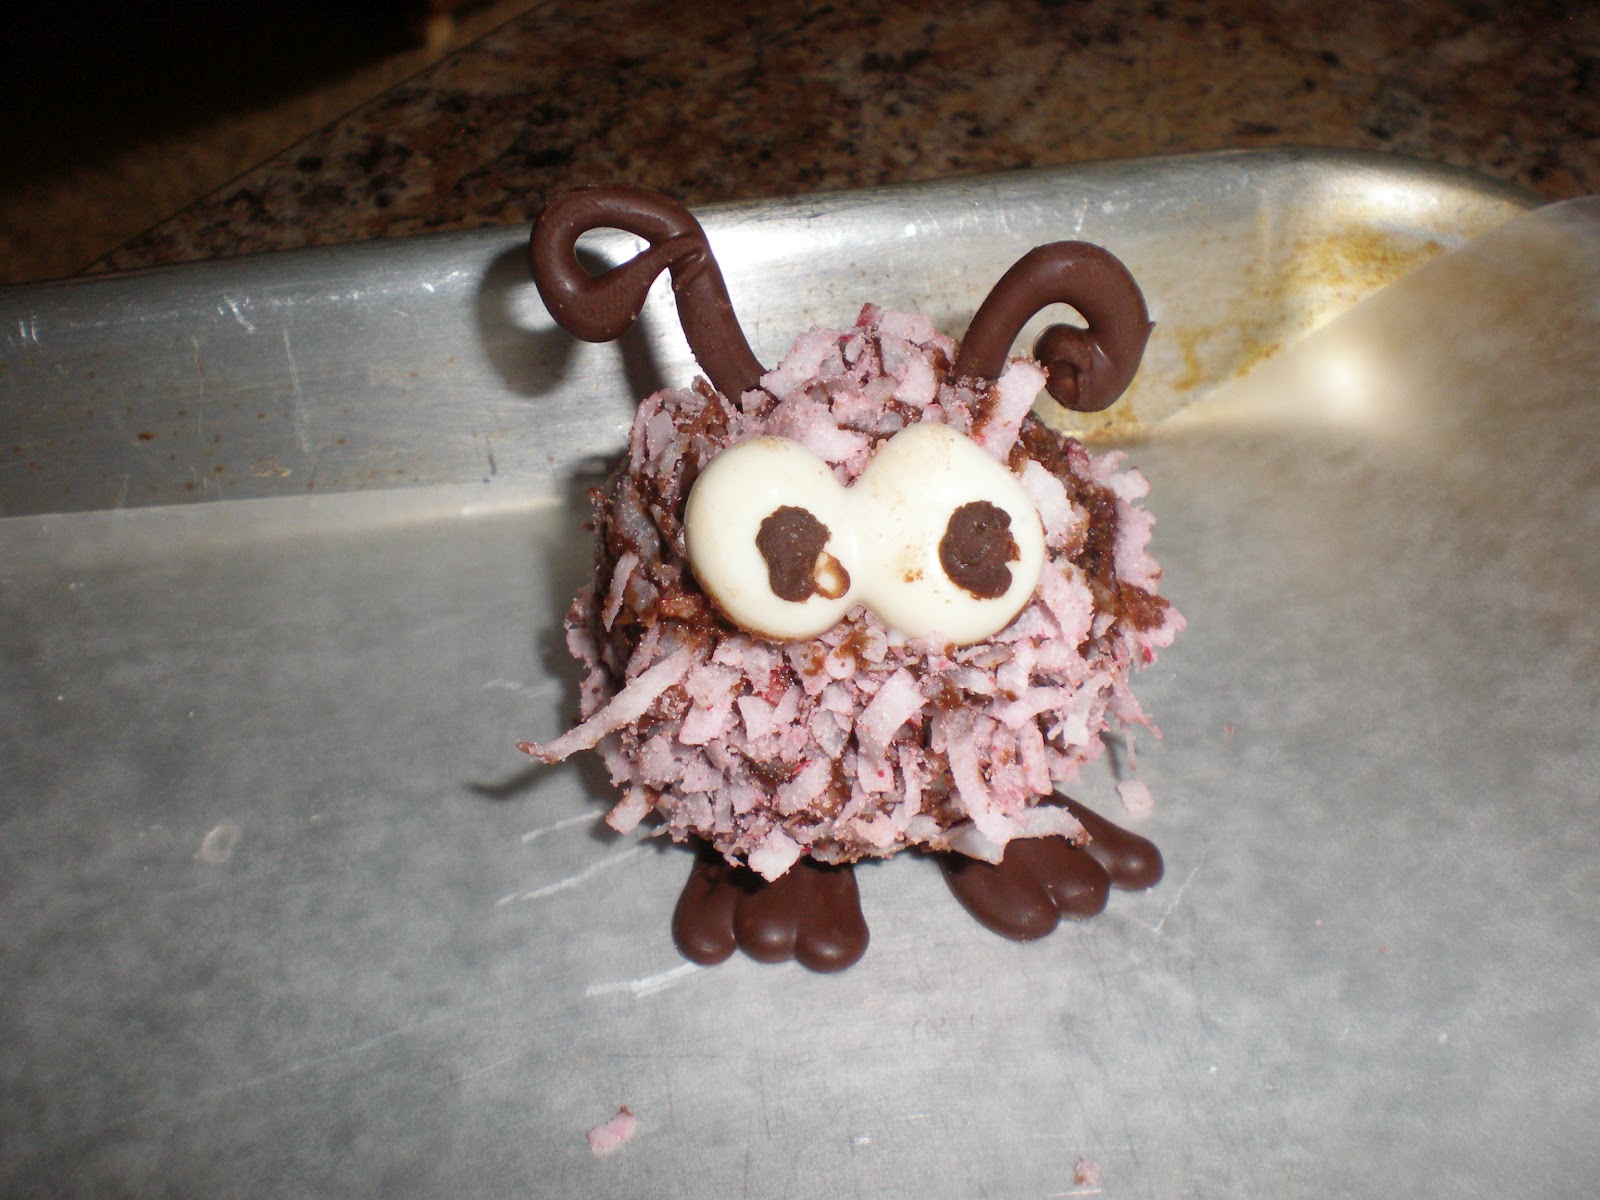
I found this idea on the Hungry Happenings website. Her's are more beautiful then mine and she has much better detailed instructions. I used what I had. I am to cheap to buy the chocolate suggested and used what I had. The almond bark, I had on hand worked great, and it is just store brand white chocolate. It takes a little longer to set up then the molding chocolate, but I had a baby to feed and another child to take care of so, I couldn't have made them any faster anyways. I ended up not using the feet template because I don't have a printer, but I think they still turned out overall very cute. I also made the eyes instead of buying them. When I make these again I will make my eyes together like the Love bug pictured above. Go to her website for better instructions. One thing I did fined out that worked well, is that I had the feet ready on the wax paper to set the ball onto after I dipped it in chocolate. they stuck well, without having to do any extra work to get them on there! These were a lot of fun, and the even better thing is that they tasted great. My little girl had lots of fun making the cake balls with me, and eating lots of chocolate when I wasn't looking.

I found the yarn love bugs at this website, which we made with a bunch of kids for a moms group with the chocolate love bugs as treats. It worked out well!


Salt Play dough (Hearts)

Play Dough Hearts
I got this idea from this website and we had a lot of fun. 

Play Dough
3 Cups of white flour
1 1/2 Cups of salt
1 1/2 Tablespoons of cream of tartar
3 1/4 Cups of water
6 Tablespoons of vegetable oil
Red food coloring

Mix the flour, salt, and cream of tartar in a medium saucepan.In a separate bowl, mix the liquids, adding drops of food coloring until you reach your desired shade. Pour the liquid over the dry ingredients and stir. Cook over medium-low heat, stirring constantly, until the mixture holds together and gets too stiff to stir (it will stiffen even more as it cools), about 5 to 10 minutes. Let it cool. Knead the clay briefly, then roll or pat it to a 3/4-inch thickness and cut with the cookie cutter.

I ended up cooking it a little fast and it got hard to stir quick, it was a little clumpy, but it all kneaded together beautifully. The kids loved playing with it. I will do this again. I used sandwich bags to place my hearts in and then yard to tie it shut. Have fun!

Like Bisquick

Basic Baking Mix (Like Bisquick)

10 c flour
3/8 c baking powder
1 tsp. Cream of Tartar
1 1/4 c powdered milk
1 1/2 Tbl salt
1/4 c granulated sugar
1 lb or 2 cup shortening

Combine all ingredients; mix well, cutting shortening into all.
Store in airtight container for up to 1 month.

This recipe is just as easy as it says!

Tuesday, January 31, 2012

Pear Sauce and Pear Pie Filling


My husband is amazing! He went and got me some pears from Harry and David. 10C a lb. I am glad he likes me doing projects like this, even though we might be having pizza for dinner. These pears were delicious. I am not the biggest pear lover but I am getting there. I think because I live around a ton of pear orchards that I should really learn to love them.

My awesome husband got me a pressure cooker and canner for Christmas. I decided to experiment and use this in cooking my pears. It was my first time using it, so I was a little scared at first and read the book lots, but everything turned out great. I have the simple, basic tools when it comes to canning so I got to peel and core all the pears myself. Then I cut them up and put them into the pressure cooker. The blog I read and got this recipe off of told me to cover my pears in pear or apple juice. If I were to do this again I wouldn't do that. I ended up with way to much liquid to sauce my pears and spent a lot of unnecessary time draining them off.


I then stuck the pears into my food processor a few cups at at time and then filled my pint jars. I processed according to processing instructions. It turned our pretty delicious!

I also made pear pie filling. I prepped the pears the same way as if I were going to sauce them. Then I stuck them in a bowl with sugar, according to taste, I am sorry I didn't measure this. My awesome mother in law also gave me some stuff that goes well when canning pie filling. It is called ultra set and you can purchase it at Kitchen Kneads, which I think is in Utah. The nice thing about it is that you don't have to cook your sauce before canning. I mixed my sauce with the pears and poured them into my jars and processed according to processing instructions. I didn't have enough quart jars at the time, so I stuck some in Ziploc bags and froze them. It freezes well also.


Tuesday, January 17, 2012

Quick and Easy Buttermilk

I don't like paying for buttermilk when it is so easy and quick to make. Much cheaper too, and it works with everything I need buttermilk for.


Buttermilk
For every 1 cup of milk add 1 tbl lemon juice or vinegar. I use lemon juice. Stir well and let see for at least 2 min. Milk will get clumpy.


Cultured Buttermilk
I am trying a new way to make buttermilk. You do have to buy some, but you should only have to do it once, then you will use what you have to make more.


Need:
Cultured buttermilk
milk
Container to store it in

I did quite a bit of research on the best way to do this. I decided to make mine in quart jars, even though we will go through this buttermilk pretty quick, quart jars will be easy to wash and reuse.

Clean your container you want to put it in. The ratio you want to use when making  your own cultured buttermilk in 1 cup buttermilk to three cups milk. You can use powdered milk for this too, but the buttermilk wont be as rich.

Add one cup buttermilk into your container and then add three cups milk. Close lid, shake. Then place milk in warm place for 24 hrs to culturize. The milk should curdle within 48hrs or your buttermilk cutltures are probley dead. If this is the case you can still use it in your baking, but it won't make any more cultured buttermilk for you and you will have to get some more buttermilk to start another cultured batch. After the milk has culturized place in fridge and it is ready to use whenever you need it.


Always save a cup of the buttermilk you made so you can make more. After about three weeks the cultures start to get weaker so it is a good idea to make more before then.